INEOS Grenadier exhaust thermal clearances — the three numbers
No shielding: 200 mm minimum from exhaust to fuel lines, plastic lines, and electrical cables.
Sheet metal shielding: 80 mm minimum — a metal barrier reduces radiant heat enough to cut the required gap by more than half.
Sheet metal + insulation: 40 mm minimum — tightest allowable margin with full shielding.
A suspension lift keeps the exhaust roughly fixed relative to the axle but raises body-mounted components (fuel lines, wiring looms) — reducing clearances that were factory-adequate. Always re-verify all three tiers after any lift.
Exhaust systems generate heat. Heat damages everything around it — fuel lines, plastic components, electrical cables, brake hoses. The Grenadier's exhaust routing was engineered with specific clearance margins by INEOS. If you're modifying the chassis, repositioning underbody components, or lifting the vehicle, you need to understand these thermal boundaries before you cut, drill, or bolt anything new in place.
The Three Clearance Tiers
INEOS specifies three clearance scenarios, each dependent on shielding level. Temperature context: the exhaust generates temperatures exceeding 120°C between the catalytic converter and rear silencer near the floor pan. Fuel lines begin degrading around 60°C under sustained exposure — meaning a fuel line running at the minimum 200 mm unshielded gap has roughly a 3× safety margin before you start losing it.
| Shielding Level | Minimum Clearance | Application |
|---|---|---|
| No shielding | 200 mm | Default — fuel lines, plastic lines, electrical cables |
| Sheet metal shielding | 80 mm | Metal barrier reduces radiant heat transfer |
| Sheet metal + insulation | 40 mm | Tightest allowable margin — full double-layer shielding required |
These clearance numbers apply to fuel lines, plastic lines, and electrical cables at all times — not just after modification. When you add accessories that shift component positions (side steps, rear carriers, roof loads), verify factory clearances haven't been compromised under full load.
The No-Modification Zone
No modifications are permitted upstream of the main silencer. INEOS identifies this as "Area A" — the catalytic converter, manifold, and connecting pipe. This is where emissions compliance lives, and it is off-limits without exception.
| Component | Status | Why |
|---|---|---|
| Exhaust manifold | No modification | Integral to emissions system design. Altering flow characteristics changes catalytic converter performance and may trigger emissions faults. |
| Catalytic converter(s) | No modification | Type-approved emissions component. Removal or modification voids certification in virtually every market. Surface temps reach 600–800°C during regeneration cycles. |
| Connecting pipe | No modification | Diameter, length, and routing are calibrated for back pressure targets. Changes here affect both emissions and engine tuning. |
| Flexible metal hose (decoupler) | No modification | Absorbs vibration and thermal expansion. Replacing with rigid pipe will crack the manifold or pipe within months of thermal cycling. |
| DPF (diesel models) | No modification | DPF reaches extreme temperatures during active regeneration. Removal is illegal in most jurisdictions and will trigger permanent fault codes. |
Exhaust Back Pressure Rules
If you change exhaust routing downstream of the main silencer, you must measure exhaust back pressure before AND after the modification. If back pressure increases compared to the unmodified system, further refinement is required. Upon request from INEOS, these measurements must be verified by the body manufacturer.
Pipe geometry constraints: Maximum pipe bend is 90°. Bending radii must exceed 1.5× pipe diameter (1.5d). Avoid additional bends beyond what the original routing requires. The free cross-section of the exhaust pipe behind the main silencer must not be reduced.
What a Suspension Lift Does to Your Clearances
This is the detail that catches Grenadier owners off guard. When you install a suspension lift — whether 30 mm springs, a 65 mm lift kit, or anything in between — the exhaust stays roughly fixed relative to the axle. The body-mounted components (fuel lines, brake lines, wiring looms) rise with the body. This can reduce clearances that were factory-adequate to below the 80 mm or even 200 mm thresholds.
A 40–65 mm lift can drop clearances at critical crossing points by a corresponding amount. If a fuel line ran at 220 mm from the exhaust (20 mm margin above the 200 mm requirement), a 40 mm lift could bring it to 180 mm — still above threshold. But if that same line was already at 210 mm, a 65 mm lift puts it at 145 mm, still above the unshielded threshold — but tighter than factory-designed. The only safe approach is to re-verify every crossing point after any lift, at full laden weight.
Factory clearances were validated at kerb weight with driver only. Always verify at full gross vehicle weight — roof tent, rear carrier, passengers and gear. A heavily loaded Grenadier can sag 30–40 mm from unloaded ride height, compounding the effect of any lift.
Common Exhaust Modifications and Thermal Risk
| Modification | Risk | Clearance Implication |
|---|---|---|
| High-tuck exhaust (axle-back) | Moderate | Moves hot pipe closer to floor pan and underbody components. Must verify 200 mm unshielded / 80 mm shielded to fuel lines, brake lines, and wiring above. |
| Cat-back performance exhaust | High | Different routing changes all clearance relationships. Larger diameter pipe has a different radiant heat footprint. Back pressure measurement mandatory before and after. |
| Exhaust tip relocation | Moderate | New exit point must not direct exhaust gas onto tyres, fuel tank, plastic body panels, or into the passenger compartment through any opening. |
| Suspension lift (indirect) | High | Body-mounted components rise while exhaust stays fixed relative to axle. Can reduce previously-compliant clearances below threshold. Must re-verify all three tiers. |
| Removing heat shields | Critical | Converts shielded clearances (80 mm / 40 mm thresholds) back to unshielded (200 mm required). Instantly violates clearance spec in most configurations. |
How Accessories Affect Exhaust Clearances
Exhaust thermal clearances aren't only a concern for exhaust modifications. Any accessory that changes the vehicle's geometry, weight distribution, or underbody component routing shifts the clearance equation.
Side Steps and Rock Sliders
Side steps mount along the rocker panels — the same corridor where exhaust pipes route rearward. Quality Grenadier side steps are engineered with proper standoff distances, but owners who fabricate custom brackets or relocate factory mounting points need to verify they haven't introduced new pinch points between the step structure and the exhaust pipe. The 200 mm unshielded rule applies to any structural metalwork near the exhaust, and side step cross-members that bridge the gap between frame rails can easily encroach on that envelope if not designed with exhaust routing in mind.
Rear Carriers and Departure Angle
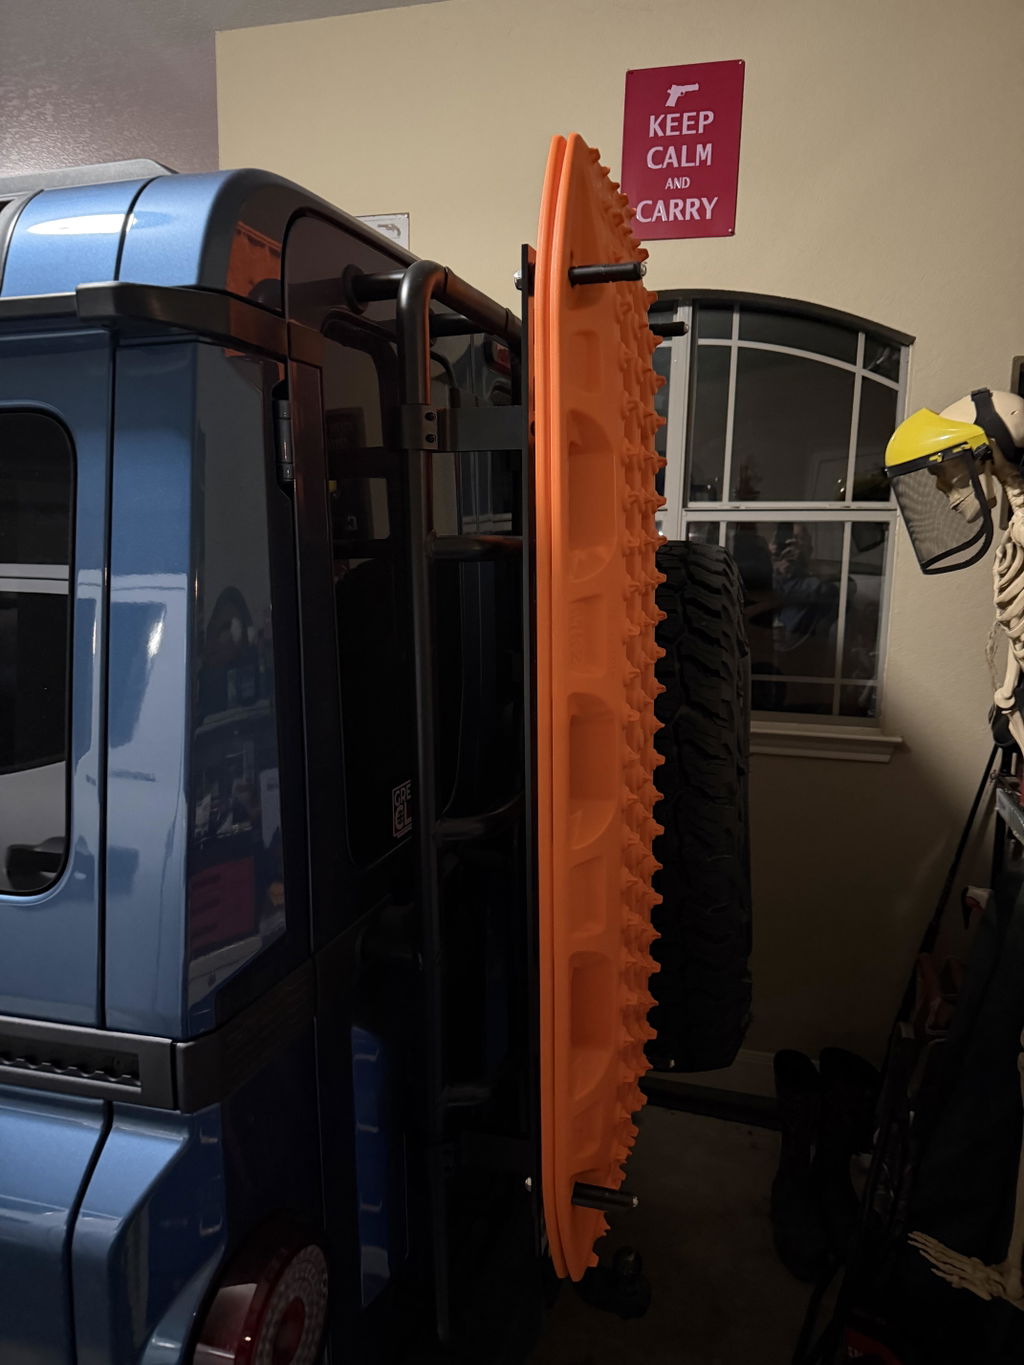
Heavy rear accessory carriers — spare tyre swings, jerry can holders, recovery gear mounts — add significant weight behind the rear axle. On a stock suspension, 60–80 kg of loaded carrier can compress the rear suspension enough to reduce exhaust-to-body clearances by 15–25 mm — enough to push a borderline clearance below the 80 mm shielded threshold. If you're running a loaded rear carrier, check clearances with the vehicle fully laden, not empty on a lift.
LED Lighting and Underbody Wiring
Auxiliary LED light kits — whether mounted via exterior utility belts, bumper mounts, or routed underneath for work lighting — require wiring that often runs along the chassis rails. These wiring harnesses must respect the same thermal clearance tiers as factory wiring. Routing LED power cables within 200 mm of an unshielded exhaust section is asking for melted insulation and intermittent shorts. Plan wiring runs on the opposite side of the chassis from the primary exhaust routing, and use high-temperature sleeving where crossover points are unavoidable.
Roof Loads and Suspension Compression
A full roof setup — DualTrack crossbars loaded with a rooftop tent, solar panels, or a Starlink mount — adds weight that compresses all four corners of the suspension. The cumulative effect of roof load plus rear carrier plus passengers and gear can drop the chassis 30–40 mm from unloaded ride height. That's 30–40 mm of lost clearance at every point the exhaust passes near body-mounted components. Verify thermal clearances at full gross vehicle weight, not with an empty vehicle on jackstands.
DVA Grenadier accessories are designed with underbody routing in mind. Explore the full range — side steps, rear carriers, roof crossbars, and lighting — all engineered for Grenadier-specific geometry.
Browse Grenadier AccessoriesWhat Goes Wrong: Real Failures
Lessons from the Grenadier owner community, sourced from The INEOS Forum:
"Mate, check your clearances after fitting side steps and sliders. My exhaust was practically touching a bracket — found it by smell before I found it by sight."
— Grenadier owner after accessory install, The INEOS Forum, Exhaust Systems thread, March 2024
"Loaded up for a week in Scotland — roof tent, full rear carrier, the lot. Noticed a burning smell after the A9. Turns out the fuel line sheathing was cooked where it passes the exhaust. Stock clearance is fine unloaded, not so much with 300 kg of kit."
— Owner reporting load-related clearance issue, The INEOS Forum, June 2024
| What Happened | Root Cause | Outcome |
|---|---|---|
| Melted wiring loom after lift | 2" body lift — body rose, exhaust stayed. Wiring loom went from 120 mm to 40 mm clearance without shielding. | Entire loom section replaced. Could have been prevented by re-verifying clearances post-lift. |
| Heat-damaged fuel line | High-tuck exhaust brought rear pipe within 80 mm of fuel line — technically within shielded spec, but installer didn't add shielding. | Fuel line outer jacket softened and deformed. Caught during underbody inspection before failure. |
| Back pressure fault codes | Aftermarket cat-back with straight-through silencer — back pressure dropped below ECU's expected range. | Persistent fault codes and subtle detuned state. Emissions output increased. |
| Side step bracket heat damage | Custom-welded cross-brace resting against mid-pipe heat shield. Long motorway drive caused discoloration and warp. | Repositioning bracket 50 mm outboard solved contact; warped plate required replacement. |
| Clearance loss under full load | Heavily equipped Grenadier — roof tent, rear carrier, four passengers — sagged rear suspension enough to bring fuel return line within 60 mm of exhaust mid-section. | Discovered during oil change via discoloured fuel line sheathing. Aluminium heat shield added to restore compliance. |
Gas Flow Direction Rules
If you change the direction of exhaust gas flow, the body manufacturer is responsible for the functional safety of all exposed components. Exhaust gas must not enter the passenger compartment — especially relevant when designing access points and doors. Direct exhaust flows onto tyres, hoses, cables, and underbody sheet metal must be avoided. Any exit point relocations require verification that the new trajectory clears all body panels and openings.
Engine Cooling: Do Not Touch
The cooling system — radiator, grille, air ducts, coolant circuit — must not be modified. Cross-sectional areas of cooling air intake must be kept free. No warning plates, badges, or decorative parts in front of the cooler. This is directly from the INEOS Body Builder Guide and applies absolutely: any blockage of the cooling air intake path risks overheating, especially under sustained low-speed off-road use.
1. Identify every point where exhaust passes within 300 mm of any body-mounted component.
2. Measure clearances at full laden weight — not empty on a lift.
3. If clearance is below 200 mm without shielding, add sheet metal shielding to meet the 80 mm tier — or sheet metal + insulation for the 40 mm tier.
4. After any exhaust routing change downstream of the main silencer, measure back pressure before and after. If it increases, further refinement is required.
5. Never modify the no-mod zone (manifold, catalytic converter, connecting pipe, flex decoupler, DPF).