Every Grenadier owner who ventures beyond pavement eventually faces the same question: where do I put the fuel cans and recovery boards? The Grenadier gives you more mounting real estate than almost any modern 4x4 — factory rear ladder, side rails, roof rack positions, spare tire cavity, and even the rear door itself. But more options means more ways to get it wrong, and the forums are full of owners who mounted gear in one spot, lived with it for a season, then moved everything somewhere else.
This guide maps every viable mounting location on the Grenadier, compares the approaches owners are actually using, and walks through the trade-offs that matter: rear visibility, door access, weight distribution, theft security, and whether you can actually reach your recovery boards when you're buried axle-deep in sand.
Why External Mounting Matters on the Grenadier
The Grenadier's cabin cargo area is generous, but a single 20L NATO jerry can full of fuel weighs roughly 40 lb (18 kg). Two cans plus a pair of full-size recovery boards eat 100+ lb of interior payload and consume space you'd rather fill with camp gear, tools, or a dog crate. External mounting solves both problems — but only if the gear stays secure on washboard roads and remains accessible when you actually need it.
The Five Mounting Zones — And What Each One Costs You
Rear Ladder — Most Popular, Most Debated
The factory rear ladder is the default mounting point for most Grenadier owners, and for good reason — it's structural, it's already there, and it keeps weight low and centered. Recovery boards, jerry cans, and even Hi-Lift jack brackets can all clamp or bolt to the ladder's round tubing. DVA's Ladder-Mounted Recovery Board Carrier bolts directly to the factory ladder geometry with quick-release pins — no adapters, no drilling, and boards deploy in seconds.
But the ladder position creates a genuine access problem. Every piece of gear you bolt to the ladder is gear that sits between you and the rear door handle. Owners who've tried it have strong opinions.
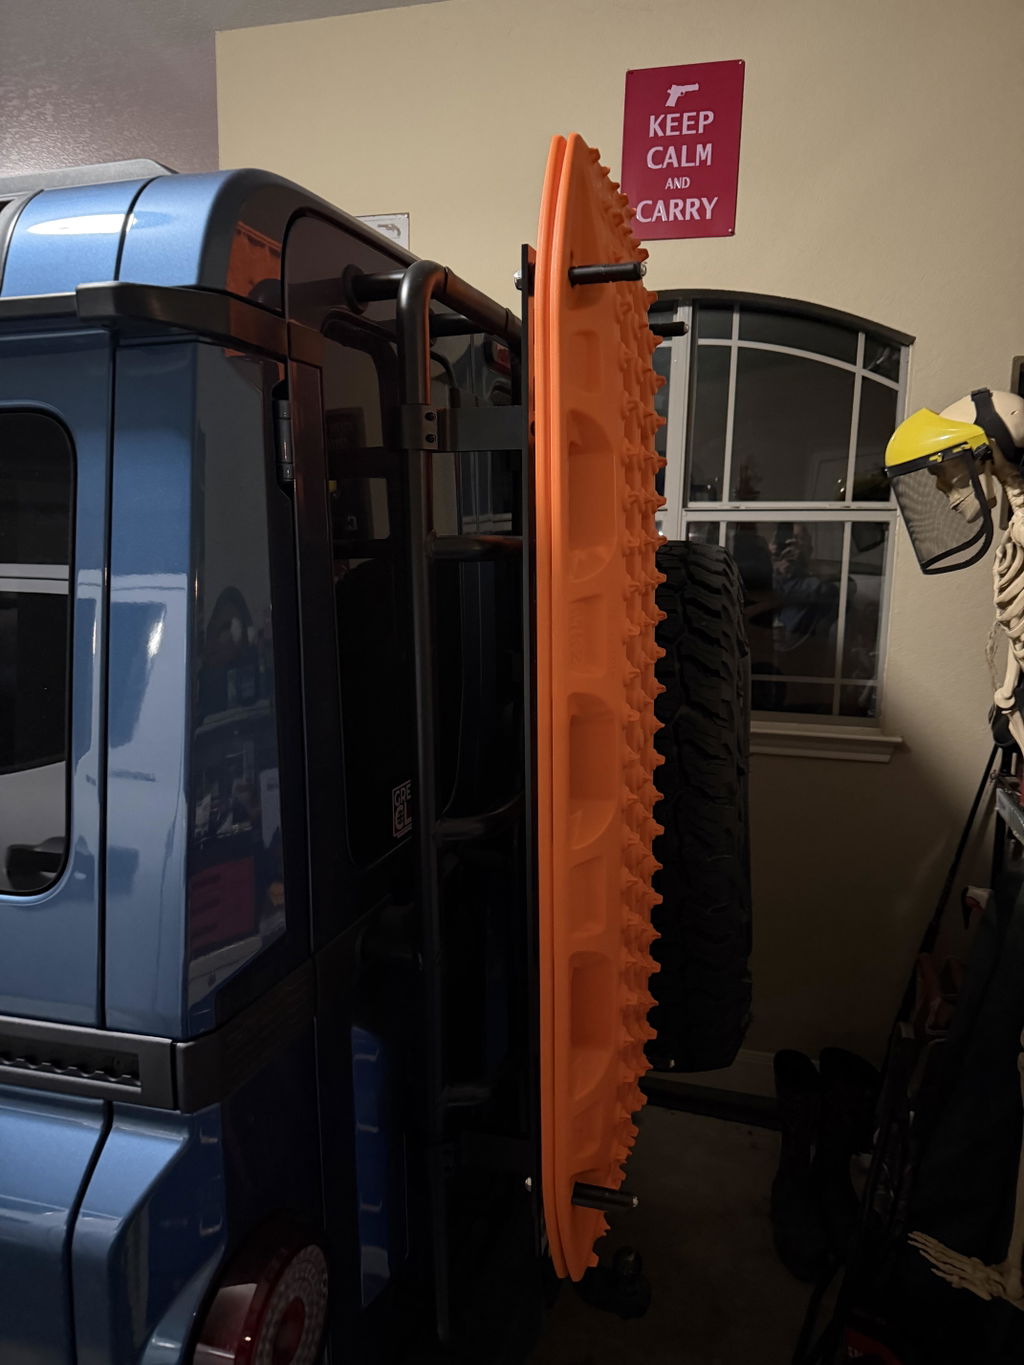
I mounted two XTR Maxtrax-mini specific mounting brackets onto the rear ladder using four clamps, strengthened with two pieces of 30x3mm flat steel bar. Very rigid, lockable and still allows plenty of access to the rear door handle. I chose the Maxtrax Jack-base and mini recovery boards rather than their full-size cousins to minimise the impact on the already pretty limited vision through the rear window.
— MattG, The INEOS Forum
Like the look, but 2 issues. It's going to make it a pain to access the door button and handle, I tried mounting mine there and decided I couldn't live with it, and I am skeptical that mini MaxTrax will be very useful for a vehicle as big and heavy as a Grenadier.
— And3rew, The INEOS Forum
The trade-off is real. Full-size MaxTrax MKII boards mounted on the ladder will partially obscure the rear window and may interfere with the door handle. Mini boards solve the visibility problem but sacrifice traction surface — though as one owner pointed out, mini boards can be joined together to create a full-length track equivalent to one MKII. Four minis give you the coverage of two full-size boards with much better packaging flexibility.
If your Grenadier is a daily driver that sees a parking garage regularly, choose mini-sized recovery boards for the ladder and keep full-size boards in the cargo area. If it's a dedicated overlander, full-size boards on a purpose-built ladder carrier will give you the best recovery performance with the fastest deployment.
Side-Mounted Accessory Carriers — The Modular Approach
Side accessory carriers bolt to the Grenadier's factory roof rails and bridge down to the L-Track utility belt, creating a vertical mounting surface on both flanks of the vehicle. This is where the Grenadier's design really separates it from competitors — the combination of roof rails, body-side steel panels, and L-Track utility belt creates a modular ecosystem that doesn't exist on most modern SUVs.
DVA's Gen 2 Side Accessory Carrier — extruded aluminum, rated at 25 lb per rail — can hold a single 20L jerry can, a pair of recovery boards, a fire extinguisher, or a combination of gear mounted via MOLLE panels, clamps, or dedicated brackets. DVA also makes a dedicated 20L NATO Jerry Can Carrier that locks into the side rail system for single-can setups. Installation is typically bolt-on using factory mounting points — no drilling required.
The key advantage: gear mounted at arm height on the side of the vehicle is accessible without climbing. On the ladder, you're reaching up and over. On the roof, you need the ladder itself. On the side, you can grab a jerry can or release a recovery board while standing on flat ground.
Roof Rack — Maximum Capacity, Maximum Consequences
Roof-mounted recovery boards and jerry cans are common in the overlanding world, but the Grenadier's height makes this approach more demanding than on a lower vehicle. You're loading and unloading gear at roughly 7 feet — manageable with the rear ladder, but not something you want to do roadside in a recovery scenario where speed matters.
I have four maxtrax — they will go at the front on load bars. The Molle panels I will use for shovel and possibly axe. Although I prefer a machete.
— Grenadier owner, The INEOS Forum
If you do roof-mount, keep heavy items like fuel cans toward the front of the rack near the hinge points. Multiple owners have noted that weight at the rear of the roof amplifies the tailgate's tendency to swing open under momentum on steep descents — not dangerous, but annoying.
Spare Tire Cavity — The Hidden Option
Here's a trick borrowed from G-Wagon owners: because the Grenadier mounts its spare tire backwards (face-out, like the Mercedes G-Class), there's usable space behind the tire inside the wheel well. One owner fitted an OEM BMW 9-liter jerry can into this cavity — small enough for an emergency fuel reserve without adding any external bulk or aerodynamic drag.
With the Grenadier Spare tire being mounted backwards, just like a G wagon, I made good use of the extra space by mounting an OEM 9L Jerry can.
— Grenadier owner, The INEOS Forum
This won't replace a full 20L can for serious range extension, but 9 liters (~2.4 gallons) can be the difference between reaching a fuel station and calling for recovery. It's also completely invisible to thieves and adds no wind resistance.
Rear Door Mount — Direct But Heavy
Door-mounted jerry can brackets bolt directly to the rear door structure and hold a single can at roughly waist height. The upside is direct access — open the rear area, and the can is right there. The downside is that you're hanging 40+ lb off a door hinge, and over time this can stress the hinge pins and cause alignment issues. Most manufacturers rate their door mounts for lighter 3-gallon (11L) cans rather than full 20L NATO cans for exactly this reason.
Jerry Can Mounting: Choosing the Right Approach
The NATO 20L steel jerry can remains the gold standard for overland fuel storage. It's durable, universally available, and its standardized dimensions mean any NATO-pattern carrier will fit. But not every mounting method works equally well on the Grenadier.
| Mount Location | Can Size | Access | Security | Best For |
|---|---|---|---|---|
| Rear ladder | 20L NATO | Moderate — may block door | Lockable with carrier | Dedicated overlanders |
| Side carrier | 20L NATO | Excellent — arm height | Lockable with carrier | Mixed-use / daily + weekend |
| Roof rack | 20L NATO | Difficult — 7ft height | Moderate | Extended expeditions |
| Spare tire cavity | 9L OEM | Requires spare removal | Excellent — invisible | Emergency reserve |
| Rear door | 11L typical | Excellent | Visible, lockable | Light-use water/fuel |
For most Grenadier owners running a single-can setup, DVA's 20L NATO Jerry Can Carrier on the side rail system hits the best balance of access, security, and weight distribution. For dual-can setups — one fuel, one water — the combination of one can on a side carrier and one on the rear ladder keeps weight distributed and both cans accessible without climbing.
I am hoping someone comes up with a mount for ladder that holds 2x Jerry Cans side by side. I had this set up on every FJ60, FJC, and UZJ100… and loved it though they all required a custom bumper to swing off. Since we have a true usable ladder am hoping someone makes a carrier that mounts to ladder that allows two of the military style cans side by side.
— Brock63, The INEOS Forum
External fuel transport laws vary by state and country. In the US, DOT-approved metal jerry cans are generally legal for external mounting, but some states restrict the quantity or placement. Check your local regulations before mounting fuel cans externally — and always secure the cap with a safety strap or lock.
Recovery Board Mounting: What Actually Works
Recovery boards are one of those items you never need until you absolutely, desperately need them — and then you need them fast. The best mounting solution is one that keeps boards secure at highway speed, silent on washboard roads, and deployable without tools in under 30 seconds.
Ladder-Mounted Recovery Board Carriers
Purpose-built ladder carriers are the cleanest solution for the Grenadier. DVA's Ladder-Mounted Recovery Board Carrier is engineered specifically for the factory ladder geometry — bolts directly to the round tubing without adapters. The best designs use quick-release pins for tool-free board removal — critical when you're stuck and need to deploy boards immediately.
Key features to look for in a ladder-mounted carrier:
- Quick-release pin system — no tools required for board deployment
- Anti-rattle design — silent operation is a sign of proper engineering
- Unobstructed ladder access — boards off, ladder clear for climbing
- MaxTrax MKII and Lite compatibility — covers the two most common board sizes
- Anodized aluminum construction — corrosion resistance matters for gear that lives outside
Magnetic Mounts — The Quick-Detach Option
Magnetic pin mounts offer an unconventional but surprisingly effective approach for the Grenadier. Because the rear side panels behind the cargo windows are steel (not aluminum like the hood and doors), magnetic mounts with pins that insert into the MaxTrax mounting holes will hold boards firmly to the body panels.
I have installed this set up and it suits me very well. It provides an easy way of mounting MaxTrax if you do not want to go down the PackRack or Molle panel pathway. They enable the easy removal of the MaxTrax and the attachment paraphernalia when not offroading. They are very stable and I am confident that they will not come off unexpectedly.
— DDV, The INEOS Forum
The limitation is no locking mechanism — magnetic mounts rely on magnetic force alone, which means anyone can pull the boards off. For trail use this is fine; for leaving the vehicle parked in a trailhead lot overnight, consider a cable lock through the board mounting holes.
Spare Tire Mount Adapters
MaxTrax and several aftermarket brands sell spare-tire mounting brackets that strap boards around the spare. On the Grenadier, these work the same way when wrapped around the rear ladder — the round tubing is close enough in diameter to the spare tire perimeter that the straps cinch down securely. This is the simplest and cheapest mounting method, though it's slower to deploy than a quick-release pin system.
Weight Distribution & Center of Gravity
The Grenadier weighs roughly 5,800 lb (2,630 kg) at the curb (see our complete Grenadier weight, payload & GVWR guide for the verified figures and door-sticker references). Adding 80–100 lb of fuel cans and recovery boards externally won’t dramatically change handling, but where you put that weight matters.
The worst configuration is heavy fuel cans at the rear edge of the roof rack — this raises the center of gravity and shifts the weight bias rearward, affecting both braking stability and body roll in corners. If you must roof-mount, keep heavy items as far forward as possible.
The Setup Most Owners Settle On
After tracking dozens of build threads and forum discussions, a clear pattern emerges. Owners who've tried multiple configurations tend to converge on the same general layout:
Recommended Expedition Mounting Layout
- Recovery boards on the rear ladder — DVA Ladder-Mounted Recovery Board Carrier with quick-release pins for tool-free deployment
- Primary jerry can on a DVA 20L NATO Jerry Can Carrier — arm-height access, no climbing, anti-rattle retention
- Emergency fuel reserve in the spare tire cavity — invisible, zero drag, 9L BMW OEM can
- Shovel and recovery tools on roof-mounted MOLLE panels — lighter items go high, heavy items stay low
This layout keeps heavy items low for stability, frequently-accessed items at arm height for convenience, and emergency reserves hidden and protected. It also preserves full rear door access — the most common complaint from owners who overloaded the ladder with too much gear.
Installation Priorities & Common Mistakes
Based on forum experience and real-world feedback, here are the mistakes owners make most often — and how to avoid them:
- Mounting everything on the ladder. Two jerry cans plus recovery boards plus a shovel holder on the same ladder turns rear access into a puzzle. Distribute gear across multiple mounting zones.
- Ignoring anti-rattle hardware. Washboard roads will find every loose bolt. Purpose-built carriers with anti-rattle design are worth the premium over DIY clamp solutions that need re-tightening every few hundred miles.
- Choosing the wrong can geometry. NATO-pattern 20L steel cans are the standard. Plastic utility cans and non-NATO rotational-mold fuel containers have different dimensions — verify fitment with your carrier before buying.
- Forgetting about fuel weight when planning loads. A full 20L can of diesel weighs about 40 lb. Two cans add 80 lb to your gross vehicle weight. Factor this into your payload calculations, especially if you're already running a roof rack, bumper, and winch.
- Skipping the test drive. Mount your gear, fill your cans, and drive 50 miles on a rough road before committing to the configuration. Rattles, access issues, and visibility problems that seem minor in the driveway become unbearable on a 2,000-mile expedition.